How to setup Keycloak on Docker
19 June 2022 (Updated 19 June 2022)
Start Keycloak container
docker run -p 8080:8080 -e KEYCLOAK_ADMIN=admin -e KEYCLOAK_ADMIN_PASSWORD=admin quay.io/keycloak/keycloak:18.0.1 start-devThis will:
- Start Keycloak server on http://localhost:8080.
- Create an initial admin user with username
adminand passwordadmin.
Login to the admin console
Go to http://localhost:8080 and login with the credentials from the previous step.
Create a realm
A realm in Keycloak is equivalent to a tenant (what is a tenant?). It lets you create isolated groups of applications and users. By default, there’s a single master realm that’s used to manage Keycloak. It shouldn’t be used for your own applications.
Create your first realm:
- Navigate to the Keycloak Admin Console
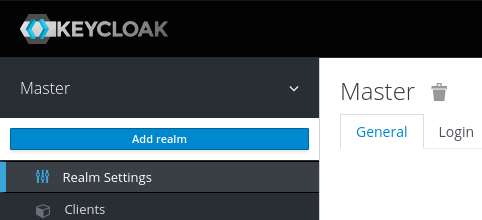
- Hover the mouse over the dropdown in the top-left corner where it says
Master, then click onAdd realm - Fill in the form with the following values:
- Name:
myrealm
- Name:
- Click
Create

Create user with credentials
- Go to Users -> Add User > Fill in details.
- After creating the user, go to the user’s details and to Credentials tab.
- Set password and uncheck the Temporary field.
Login to account console
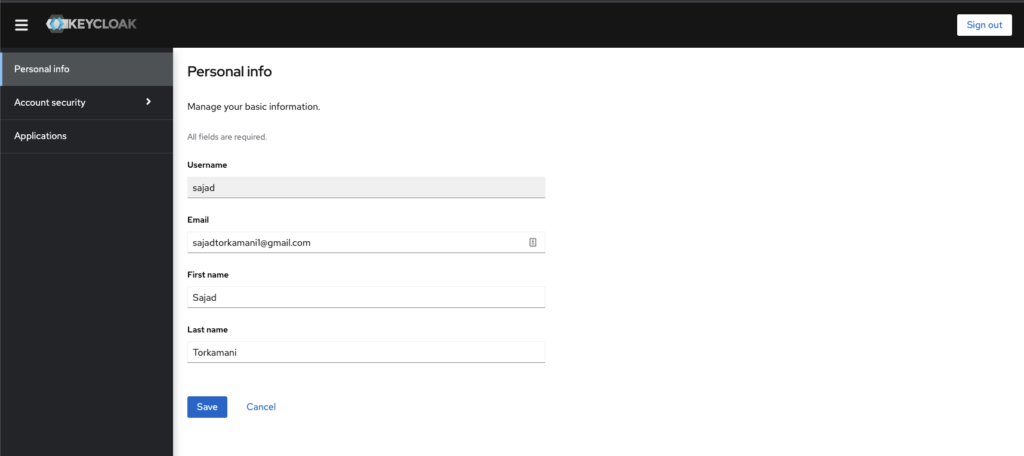
- Go to http://localhost:8080/realms/myrealm/account
- Login with the user you created before.
- You should now be logged-in and able to manage your user account.

Secure your first app
- Open the Keycloak Admin Console
- Go to Clients > Create
- Fill in the form with the following values:
- Client ID:
myclient - Client Protocol:
openid-connect - Root URL:
https://www.keycloak.org/app/
- Client ID:
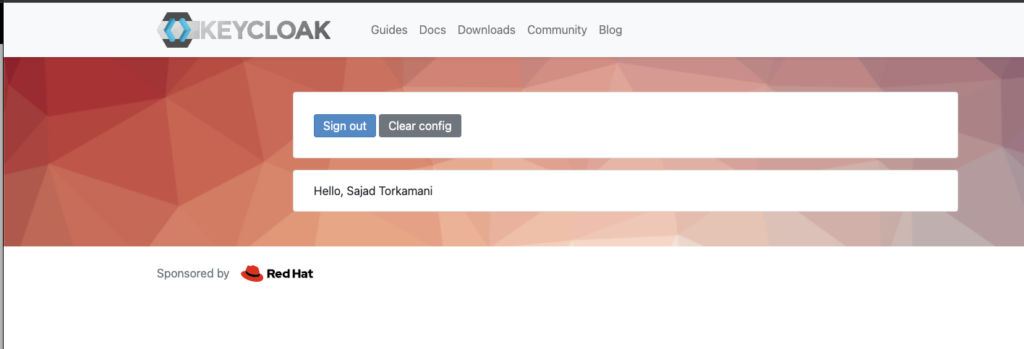
- Go to https://www.keycloak.org/app/ and click Save to use the default config.
- Click Sign in.
- Enter the credentials you created earlier.

Key terms / jargon
| Term | Description |
| Realm | Isolated group of applications and users. |
| Client | An application that will need to authenticate against Keycloak. This could be a web app, mobile app, a web service, or a command-line script. |
Sources
Tagged:
Keycloak
Thanks for your comment 🙏. Once it's approved, it will appear here.
Leave a comment